Your RV is more than just a vehicle—it’s your home on the road. To keep it in top shape, maintaining its rubber roof is crucial. Neglecting this essential task can lead to costly repairs, water damage, and a shortened lifespan for your RV. In this blog, we’ll discuss why regular maintenance is important, how often you should do it, and a step-by-step guide to keeping your RV’s rubber roof in excellent condition.
Why RV Rubber Roof Maintenance Is Important
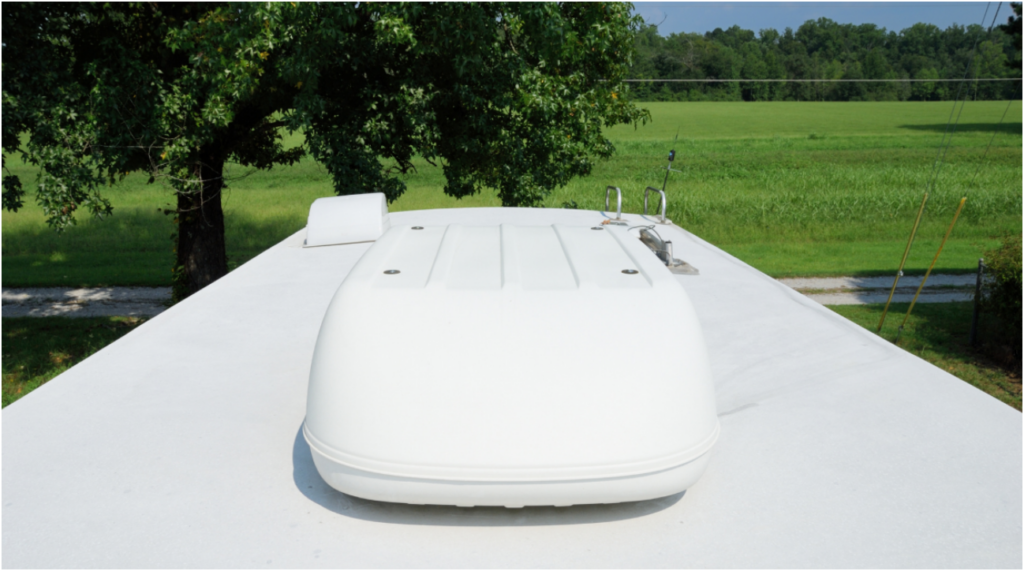
The rubber roof on your RV acts as a protective barrier against harsh weather, UV rays, and debris. Over time, exposure to the elements can cause wear and tear, leading to cracks, leaks, and mold growth. Proper maintenance prevents these issues and extends the life of your roof, ensuring your RV remains a comfortable and safe space.
Key Benefits of Regular Roof Maintenance:
• Prevents Water Damage: Cracks and holes in the roof can allow water to seep in, leading to interior damage, mold, and rot.
• Extends the Roof’s Lifespan: Regular cleaning and sealing help prevent premature deterioration.
• Maintains Energy Efficiency: A clean roof reflects heat better, keeping your RV cooler in warm weather.
• Saves Money: Routine maintenance is far cheaper than repairing or replacing a neglected roof.
How Often Should You Maintain Your RV Roof?
• Inspect: Every 1-3 months, check for cracks, tears, and signs of wear.
• Clean: At least every 3-4 months to remove dirt, debris, and buildup that can cause damage.
• Seal: Annually, apply a protective sealant to prevent cracking and extend roof life.
• Check Seams & Seals: Every 6 months, inspect and reseal seams, vents, and skylights as needed.
Step-by-Step Guide to Cleaning & Maintaining Your RV Rubber Roof
1. Gather Your Supplies
• RV rubber roof cleaner (avoid harsh chemicals like petroleum-based products)
• Soft-bristle brush or mop
• Hose or pressure washer (low pressure)
• Rubber roof UV protectant or sealant
• Ladder & safety gear
2. Inspect the Roof
Before cleaning, check for cracks, tears, or loose seams. Pay special attention to vent covers, skylights, and around air conditioning units.
3. Clean the Roof
• Rinse off loose dirt and debris with a hose.
• Apply an RV-safe rubber roof cleaner and scrub gently with a soft-bristle brush or mop.
• Rinse thoroughly to remove all cleaning residue.
4. Apply UV Protectant or Sealant
• Once the roof is dry, apply a rubber roof UV protectant or sealant to protect against sun damage and extend its life.
• Follow the manufacturer’s instructions for application and drying time.
5. Inspect & Reseal Seams
• Check all seams, edges, and vent seals.
• If needed, apply a compatible RV roof sealant to any areas with cracks or potential leaks.
6. Regularly Check & Maintain
Make it a habit to inspect your roof every few months. Address small issues before they turn into costly repairs.
Final Thoughts
Maintaining your RV’s rubber roof doesn’t take much time, but it can save you thousands in potential repairs. With regular cleaning, sealing, and inspections, your roof will remain in great condition, allowing you to enjoy your travels worry-free. Have any tips or experiences with RV roof maintenance? Share them in the comments! Safe travels!